Bathroom leaks are one of the most common yet frustrating issues homeowners face. If not addressed promptly, they can lead to water damage, mold growth, and skyrocketing utility bills. Fortunately, many bathroom leaks can be fixed with a little knowledge and the right tools. In this guide, we’ll explore the most effective methods to repair bathroom leaks step by step, ensuring you have all the information to tackle the problem efficiently.
Identifying the Source of Bathroom Leaks
The first step to repairing bathroom leaks is identifying the source. Bathroom leaks can originate from various places, such as faucets, toilets, showerheads, or even hidden pipes. A visual inspection can help you spot obvious signs like water pooling around fixtures or damp areas on the walls or floor. For less visible leaks, you might need to perform a water meter test or use dye in your toilet tank to detect a leak.
Accurately identifying the source is crucial because the method you use to repair bathroom leaks will depend on where the problem originates. Once the source is clear, you can begin planning the necessary repairs.
Tools and Materials You’ll Need for Leak Repairs
Before starting any project to repair bathroom leaks, gathering the right tools is essential. For most leak repairs, you will need basic plumbing tools such as a wrench, plumber’s tape, a caulking gun, sealant, and possibly a pipe cutter. Each tool plays a specific role in ensuring that your bathroom leaks are sealed effectively.
For example, a caulking gun helps to reapply sealant around bathtubs and sinks, while plumber’s tape is crucial for sealing threads on pipes and fixtures. Ensuring you have all the required materials will make the process to repair bathroom leaks smoother and more efficient.
Fixing Leaky Faucets
A leaky faucet is one of the most common bathroom issues, and knowing how to repair a bathroom leak from a faucet is key to stopping unnecessary water wastage. Faucets usually leak due to worn-out parts, such as washers, O-rings, or valves. The first step is to turn off the water supply and disassemble the faucet. Once you’ve identified the faulty part, replacing it can often resolve the issue.
Whether you’re dealing with compression, ball, or cartridge faucets, the method to repair bathroom leaks in faucets remains relatively straightforward with the right parts and tools. Regular maintenance can prevent faucet leaks from worsening over time.
Repairing Leaky Toilets
Toilets can also be a significant source of water loss if they leak. To repair bathroom leaks from a toilet, you need to inspect parts like the flapper valve, fill valve, or flush valve. The flapper valve, located inside the toilet tank, is a common culprit when a toilet runs continuously or leaks.
One way to detect a toilet leak is to add food coloring to the tank and check if it seeps into the bowl without flushing. Once the source is found, you can repair bathroom leaks by replacing the defective valve. Many DIY toilet repair kits are available, making this task manageable for most homeowners.
Fixing Showerhead and Bathtub Leaks
Showerheads and bathtubs are also frequent sources of leaks, and knowing how to repair bathroom leaks in these areas can save you significant repair costs. A leaking showerhead can usually be fixed by tightening connections, cleaning out mineral deposits, or replacing worn gaskets. If the issue persists, using plumber’s tape can help seal any threads to prevent further leaks.
For bathtubs, leaks often occur around the drain or due to worn-out caulking. Replacing the old caulk and resealing the tub can effectively repair bathroom leaks and prevent future water damage.
Dealing with Leaky Pipes
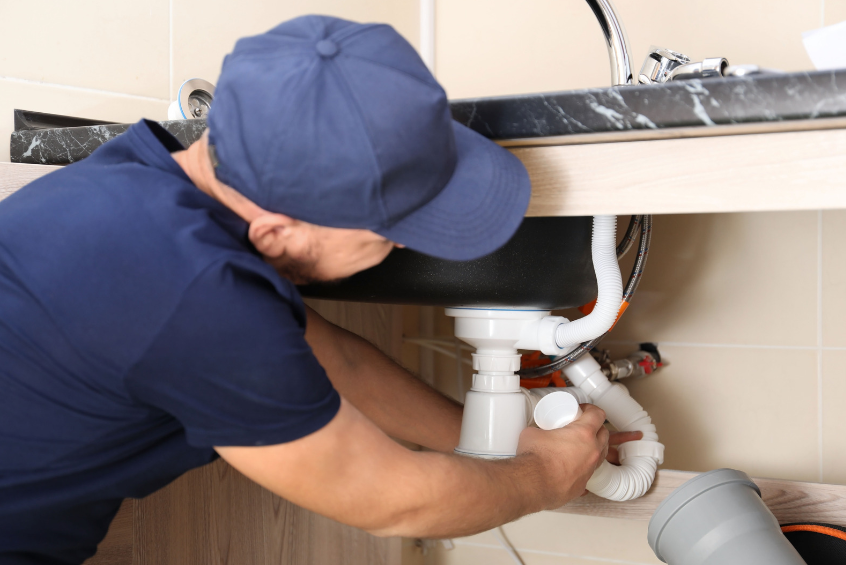
Leaking pipes, whether under the sink or inside walls, can lead to major problems if not repaired quickly. To repair bathroom leaks caused by pipes, you may need to cut out the damaged section and replace it or use a pipe clamp for a temporary fix. Plumber’s tape is often used to seal minor leaks around joints, while a full pipe replacement may be necessary for more severe damage.
Leaky pipes are often hidden, so it’s important to regularly inspect areas around the bathroom for signs of dampness, mildew, or mold. Promptly addressing pipe leaks can prevent structural damage and ensure a successful bathroom leak repair.
Re-Caulking to Prevent Future Leaks
One of the most effective preventive measures to repair bathroom leaks is to ensure all fixtures are properly sealed. Over time, caulking around sinks, tubs, and showers can deteriorate, leading to leaks. Re-caulking these areas helps to prevent water from seeping into unwanted spaces.
To repair bathroom leaks caused by deteriorating caulk, start by removing the old caulk with a scraper, then clean and dry the area before applying fresh caulk. Be sure to choose a mold-resistant, waterproof caulk for maximum durability.
When to Call a Professional Plumber
Sometimes, even the most diligent DIYers encounter leaks that are too complicated to fix. If you’ve tried the basic methods to repair bathroom leaks and the problem persists, or if you notice signs of water damage on the walls or ceiling, it may be time to call in a professional plumber. They have the expertise to address hidden leaks or perform more complex repairs, such as replacing entire sections of piping.
While DIY solutions are cost-effective, hiring a professional to repair bathroom leaks that are beyond your expertise can save you from more significant damage and repair costs down the road.
Takeaway
Repairing bathroom leaks promptly is essential to avoid long-term damage and reduce your water bills. From identifying the source of the leak to re-caulking and fixing faulty fixtures, there are several effective methods to repair bathroom leaks that homeowners can perform on their own. However, for more serious issues, seeking professional help ensures the problem is addressed correctly. By following this comprehensive guide, you can tackle bathroom leaks efficiently and keep your home in top condition.
